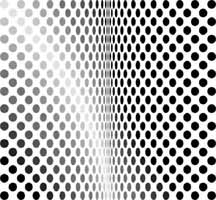
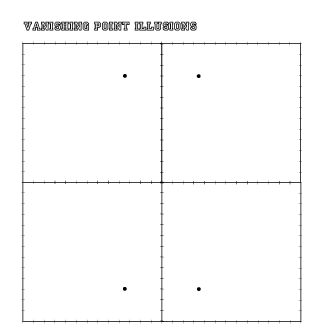
Optical Illusions Art Projects Optical Illusions Find the Black Dot
OpArt Design
Create a design using only unproblematic shapes, lines, or grids.
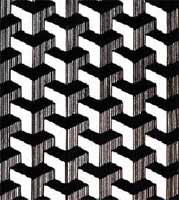
Manipulate the patterns to create an illusion of a 3D space
Learning objectives:
- Identify Optical Illusions artwork and artists
- Understand scientific discipline behind OpArt
- Manipulate space and shapes to create an illusion of depth
- Linear perspective (advanced)
- Patterns and repetition
some history

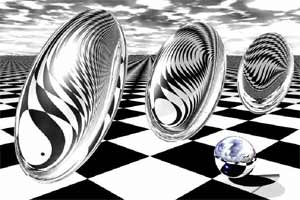
Op-fine art, besides known as optical art, is used to describe some paintings and other works of art which use optical illusions.
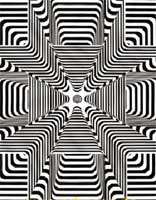
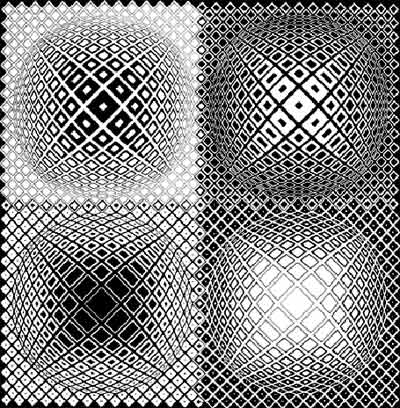
Op art works are abstract, with many of the amend known pieces fabricated in only black and white. When the viewer looks at them, the impression is given of motion, subconscious images, flashing and vibration, patterns, or alternatively, of swelling or warping.
A true Op Art piece "teases" the eye. Straight lines may announced curved, lines wriggle, flat areas undulate. The center is tricked into seeing things which are not then. Areas may announced to be flattened or stretched. The middle may ofttimes be unable to focus when viewing an Op Art piece.
In the mid-20th century, artists such as Victor Vasarely, Bridget Riley and M.C. Escher experimented with Optical Art. Escher's piece of work, although not abstract, deals extensively with diverse forms of visual tricks and paradoxes.
practice beginning
Use a ruler and a pencil/pen.
worksheets 1 & two
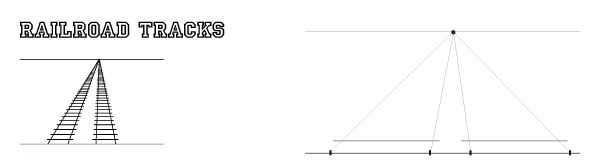
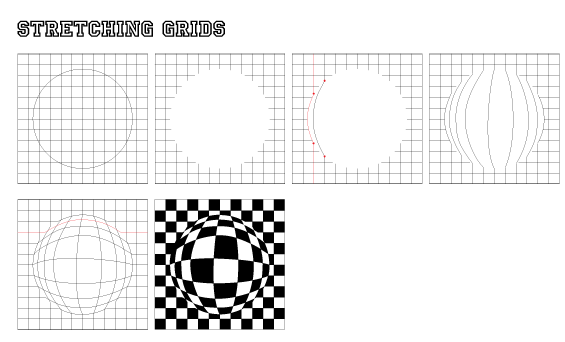
Refresh your Linear Perspective skills.
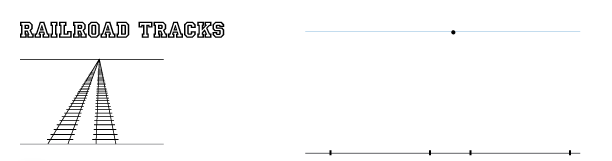
1. Utilise existing Horizon line and a Vanishing point to draw railroad tracks.
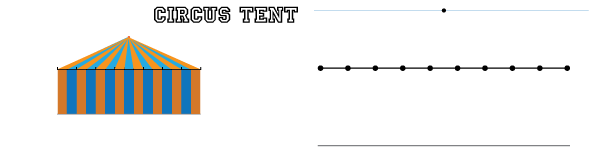
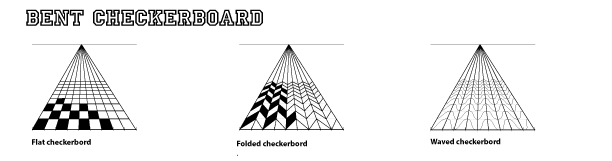
2. Use the same Linear Perspective approach to create an illusion of a bended surface

Pay attending to how you can use grid in ane-indicate perspective to make the surface flat, folded, or rippled.
three. In worksheet ii:
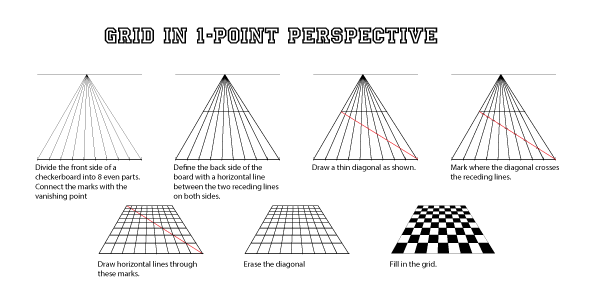
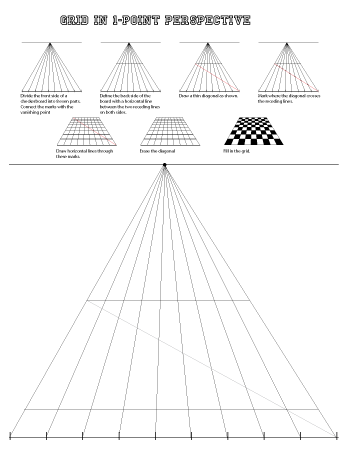
Follow the directions to create a grid in 1 signal perspective.
Y'all are now done with worksheets ane and 2.
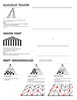
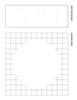
worksheets 3 & 4
Create an illusion of depth with lines.
On worksheet 3:
Do drawing straight receding lines. Start at the border, then draw a thin solid line to the vanishing point.


Apply the same approach to describe "tiled" designs. Yous tin practise drawing "free-hand".
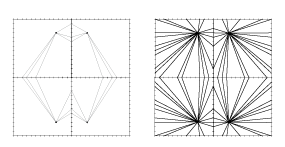
On worksheet 4:
4. Carefully draw a "tiled" blueprint that you merely skillful.
Use a ruler!!!
On worksheet 3:
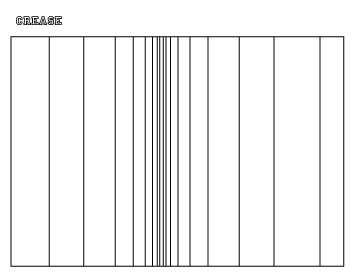
Do drawing "folded" lines.
Y'all can practise free-hand.
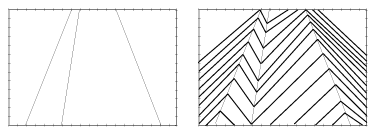
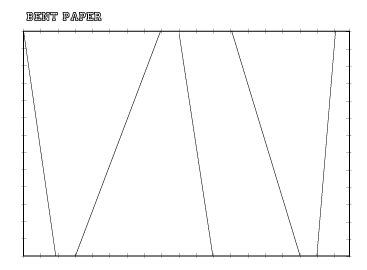
On worksheet iv:
5. Carefully depict a "aptitude" linear design that yous just practiced.
Utilize a ruler!!!
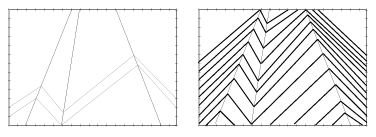
On worksheet 3:
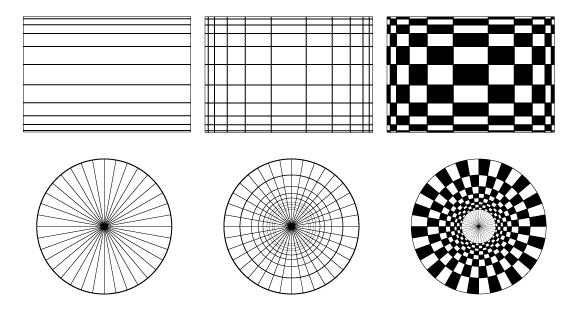
See how you lot can use straight lines and circles and create a 3D illusion just by spacing them differently.
On worksheet four:
6. Complete the design to support the illusion by:
- calculation horizontal lines /curves to the filigree, or
- by changing the line thickness, or
- by filling in the stripes
Use a ruler or gratuitous-mitt!!!

On worksheet 4:
7. Complete the design to support the illusion past calculation circles.
Use compass or free-hand.
worksheets 5 & half dozen
Distortions.
On worksheet 5:
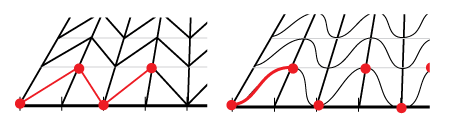
Practice drawing curved lines to create a unique 3-D illusion.
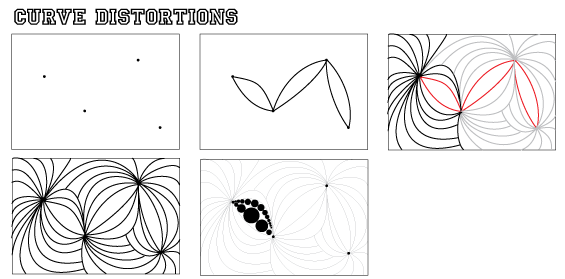
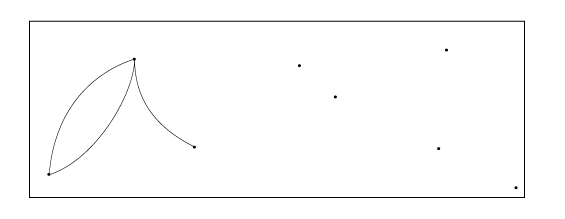
On worksheet 6:
8. Complete the pattern with bend distortions that you only practiced.
Gratuitous-hand.
On worksheet v:
Practice drawing the popping ball. Please follow the instructions on the handout!

On worksheet 6:
9. Complete the design.
Free-manus.
Consignment steps:
Using only patterns or basic shapes - create a design with a 3-D quality or an optical illusion.
Start with sketching!
Experiment with perspective; use grids, shapes, and lines to create patterns and illusions.
- Your piece should be designed in blackness & white
- Your piece should fit this description to truly exist an Op Fine art piece… If it doesn't, then it is simply a design. You lot are not simply creating a pattern!!!!!
"Simply Designs" receive an "F" !!!! - Sketch at to the lowest degree 4 different ideas.
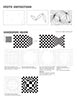
- If you have a hard time starting the sketches - here is an example of how you lot can start.
Measurement, carefulness, neatness, beingness precise are all necessary for a successful Op Art piece. You volition be graded on these, and your overall image.
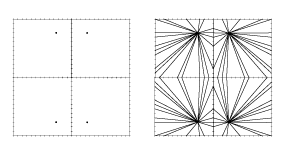
If you have a hard time starting the sketches - here is an example of how you tin start.
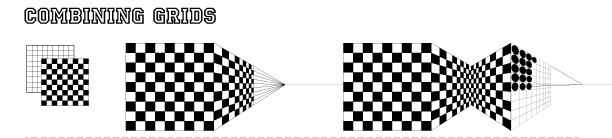
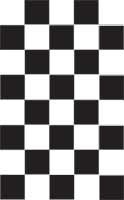
Start with a grid...
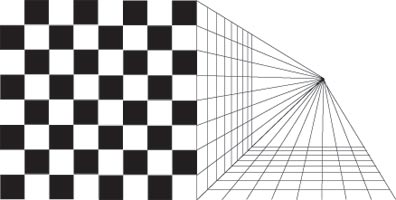
Add perspective to one side (or a few), and so start edifice the illusion of a 3-D.
Please, don't submit this idea as your sketch - utilise information technology every bit a starting indicate.
Choose the best idea for the execution. You lot might even want to combine a few of your ideas into the final design.
Please submit yous sketch to me prior to starting your design on a big scale!
requirements
- Utilize some form of perspective.
- Design should be complex and creative.
- Use Blackness Sharpie to outline the design when it is done. See me if you lot want to introduce an boosted color.
- Erase all pencil marks.
- Utilise a ruler, compass, stencils, etc. to build your Op Art blueprint.
Remember, you volition exist graded on neatness and preciseness!!!
Retrieve:
you can use multiple vanishing points; yous tin combine grids, shapes, and lines in your work; you can use ideas from the worksheets that you've done.
measurements and neatness
- Measurement, exactness, neatness, being precise are all necessary for a successful Op Art slice. You lot will be graded on these, and your overall image. So utilize a ruler, compass, stencils, etc. to build your Op Art design.
- Utilise very fine pencil lines during the design construction.
Source: https://juliannakunstler.com/art2_opart.html
0 Response to "Optical Illusions Art Projects Optical Illusions Find the Black Dot"
Post a Comment